We’re always looking to share the experiences of Disabled cyclists, as everyone’s journey into cycling is different. It’s not rare for Disabled cyclists to face barriers in the places they cycle, from physical ones to negative imagery due to the belief that Disabled people cannot, or should not cycle. Recently we re-posted a blog article by Jamie Wood, who spoke about adult stabilisers and his journey from 2 wheels to 4. Today we’re re-posting a blog article by Kevin Hickman – Disabled cyclist, campaigner and one of our fantastic Trustees! The topic is “cycling with crutches”, with Kevin sharing his (often creative) crutch transport solutions for the range of cycles he owns. You’ll never think of pipe clips and shock cords, plywood and cable ties, water bottle holders, or even drainpipes in the same way again!
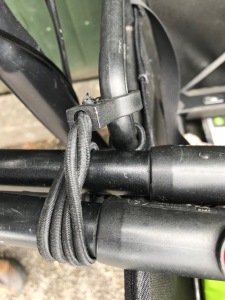
I’ve resolved most of my crutches/sticks on bikes requirements using 22mm pipe clips and Brompton shock cords. In the case of my Brompton I attach two pipe clips to the seat tube with cable ties and loop a shock cord through the handle of a Brompton basket.
Because I have no right leg there’s no chance of the crutches getting in the way – bipeds might want to get the crutches as central as possible to prevent them from interfering, but I can’t guarantee that they won’t. This version of the basket pictured with the handle is no longer available, however the new version has a webbing strap that you can loop the shock cord through and will probably help get the crutches slightly more central at the front.
When I use a prosthesis (note the crank shortener) I just need the one walking stick and I fit that along the crossbar in the case of this BSA Metro. (Unless I’m going on a longer trip and I need both crutches and stick.)
The front pipe clip (which might be a 15mm rather than 22mm) is attached to the crossbar using a light or reflector mounting, and the rear 22mm one to the seat post/tube with cable ties. Not sure why I didn’t use the slot I’d cut for one of cable ties, but it works. (A bike stand is very useful too, if you can operate it.)
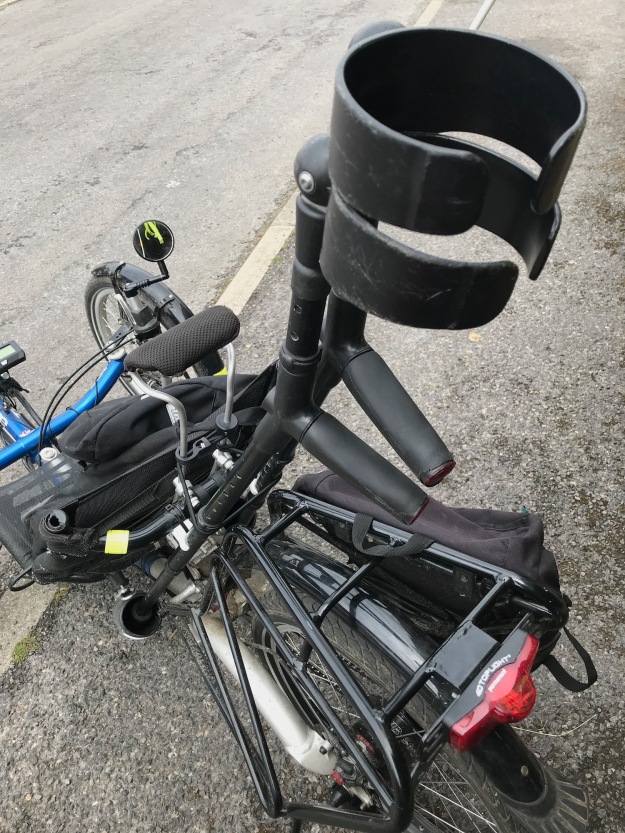
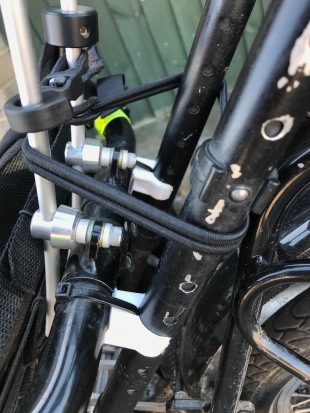
On our cargobike I’ve used the rear rack and the pushchair carrier to mount the pipe clips to. The top ones using light/reflector mounts onto the rack and the bottom ones just with nut, bolt and washers to the carrier frame. This is probably the best solution for keeping the sticks right out of the way when using a step-through frame. Might be easier to bolt the clips to a piece of plywood and cable tie the plywood to the carrier, drilling holes in the plywood to match the carrier frame.
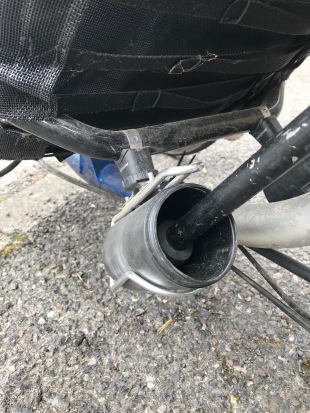
On my recumbent trike I’ve mounted a couple of water bottle holders behind the seat which I drop the ferrules of the crutches into. I filed a slot in the pipe clips for the cable ties and I’ve found I need the shock cord to keep the crutches in place else they can pop out on rough roads.
If you onl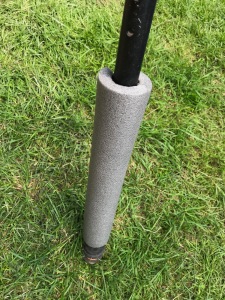 y need a temporary fix I’ve found some pipe lagging around each crutch protects the frame of the bike and along with Brompton shock cords works tolerably well. If you’ve got a pair hanging around in the shed then toe straps are a handy way of securing them too – I used those to begin with. Over the long term though, wrapping the shock cord or tightening the toe strap round the crutches and getting it secure becomes a chore compared to just snapping them in and out of pipe clips.
Sometimes shortening the crutches helps, but again, you soon get fed up with that extra time spent adjusting the length at the beginning and the end of every journey, and there’s a small risk you’ll make a mistake and not get the pin home correctly.
Alternatively, there are commercially available solutions designed specifically for the purpose (I might get a couple of these hockey stick clamps to try) and I’ve seen a length of drainpipe used to drop the sticks/crutches into, but they’re all just variations on a theme. Anything simple, quick, reliable and preferably cheap will do – sometimes easier said than done depending on your own requirements/constraints – but always doable I think.


